Simplifying Webpack: A User-Friendly Guide to Webpack Complexity
Everyone is using webpack today, and rightfully so. It is an amazing module bundler with many plugins that make it really powerful to use for production apps.
Before I dived into webpack I read that its configuration was quite complicated and it was hard to set up. After playing around with it I found out that it really isn’t.
Today I am covering a few basic things to do with webpack, those are:
- setting up a simple
webpack.config.js - adding a loader that transpiles ES6 to ES5
- importing a module using ES6 imports and using it
Let’s go!
First steps
The first thing to do is to understand what this tool actually is. I heard “webpack replaces grunt / gulp” so I initially thought it was some sort of build tool. If you do too, forget it. webpack is a module bundler, it bundles your JS / CSS and images. It is not a build tool like Grunt or Gulp (although you can do things like minify code and compressing images with the help of loaders).
We’ll start by creating a new empty node project. I’m creating a webpack-basic folder but you can name yours to whatever you want.
Protip: use
npm init -yto quickly create a new package.json
Then we install webpack by running npm install webpack --save-dev. To call webpack from the console you need to install it globally as well but you’ll only have to do that once.
npm install webpack -gNow that is done we have to create the files that we will be working with. I created a /public directory containing an index.html and another directory called src containing index.js, for now let’s add a simple console.log('webpack') to index.js.
Your project will look something like this:
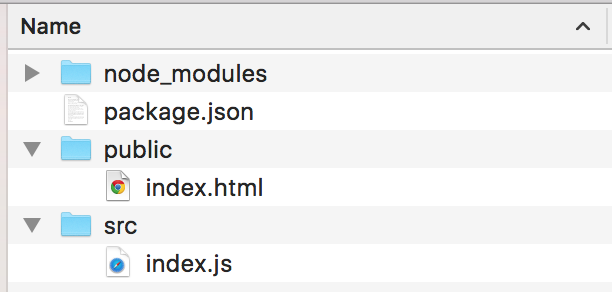
Setting up a basic config file
You could run webpack src/file.js public/bundle.js but that gives us little to no control. This is why we need a webpack.config.js:
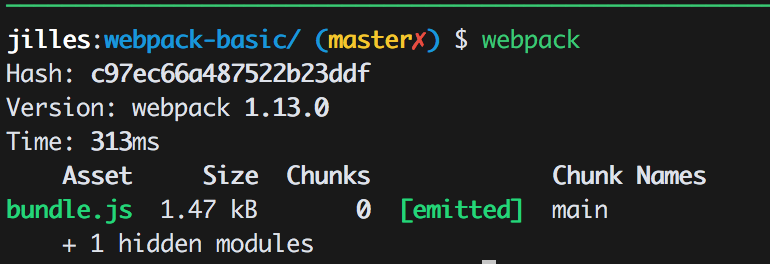
module.exports = { entry: './app/src/index.js', output: { path: './public', filename: 'bundle.js' }};It really is a simple object containing specifying input (entry) and output. We can now run webpack from our console and it will build.
Let’s add our bundle by adding <script src="bundle.js"></script> to our (static) index.html and serve it using a local web-server (I use serve for this).
Now if we navigate to http://localhost:3000 we see a “webpack” in our console.
Adding a loader
Webpack uses loaders to load different kinds of files in our bundle, hence the filename.. We want to add a loader that transpiles ES6 to ES5, therefore we install babel-loader.
babel-loader isn’t a stand alone loader unfortunately. It consists of 3 npm modules to make it work.
Install those 3 by running npm install babel-loader babel-core babel-preset-es2015 --save-dev
- babel-loader - an actual webpack loader
- babel-core - babel’s core our webpack loader talks to
- babel-preset-es2015 - es2015 aka ES6, we need this preset - a collection of plugins - to transpile ES6 to ES5.
Once we have installed those 3 things we’re ready to extend our webpack.config.js.
module.exports = {// ... module: { loaders: [ { test: /\.js$/, loader: 'babel-loader', query: { presets: ['es2015'] } } ] }}This looked quite scary to me at first but I promise you it’s not!
The module key means configuration for all modules. A module is a .js file you import or an image for example. We configure the way webpack loads our modules with loaders (duh).
Loaders is an array with objects, each object describes config for a certain loader.
- test - a RegExp to test our filenames against.
- loader - the webpack loader
- query - syntactic sugar for any query parameters for our loader.
You could remove the whole query object and replace loader with loader: 'babel?presets[]=es2015' but that gets ugly real fast once you have multiple presets.
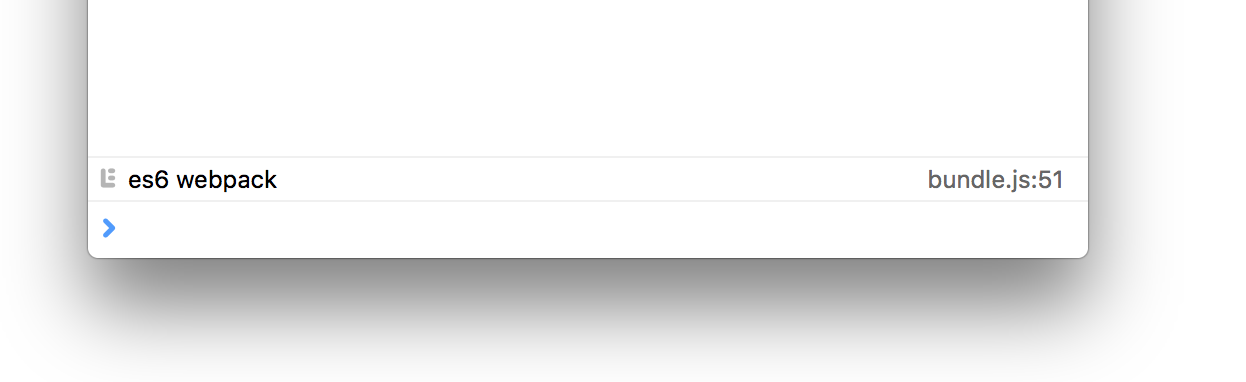
Alright, let’s add fancy some ES6 to our index.js and see if it works!
let message = 'es6 webpack!'; // so fancyconsole.log(message);Protip: Instead of running
webpackall the time you can usewebpack --watch, it will re-run webpack when you update one of your loaded files!
Importing a module using ES6 imports and using it
This is going to be way easier than you think. I rarely use jQuery but I think it will be a great example as this is a beginner webpack “tutorial”. Install jquery into your project:
npm install jquery --saveNow all you need to do in index.js, is import it.
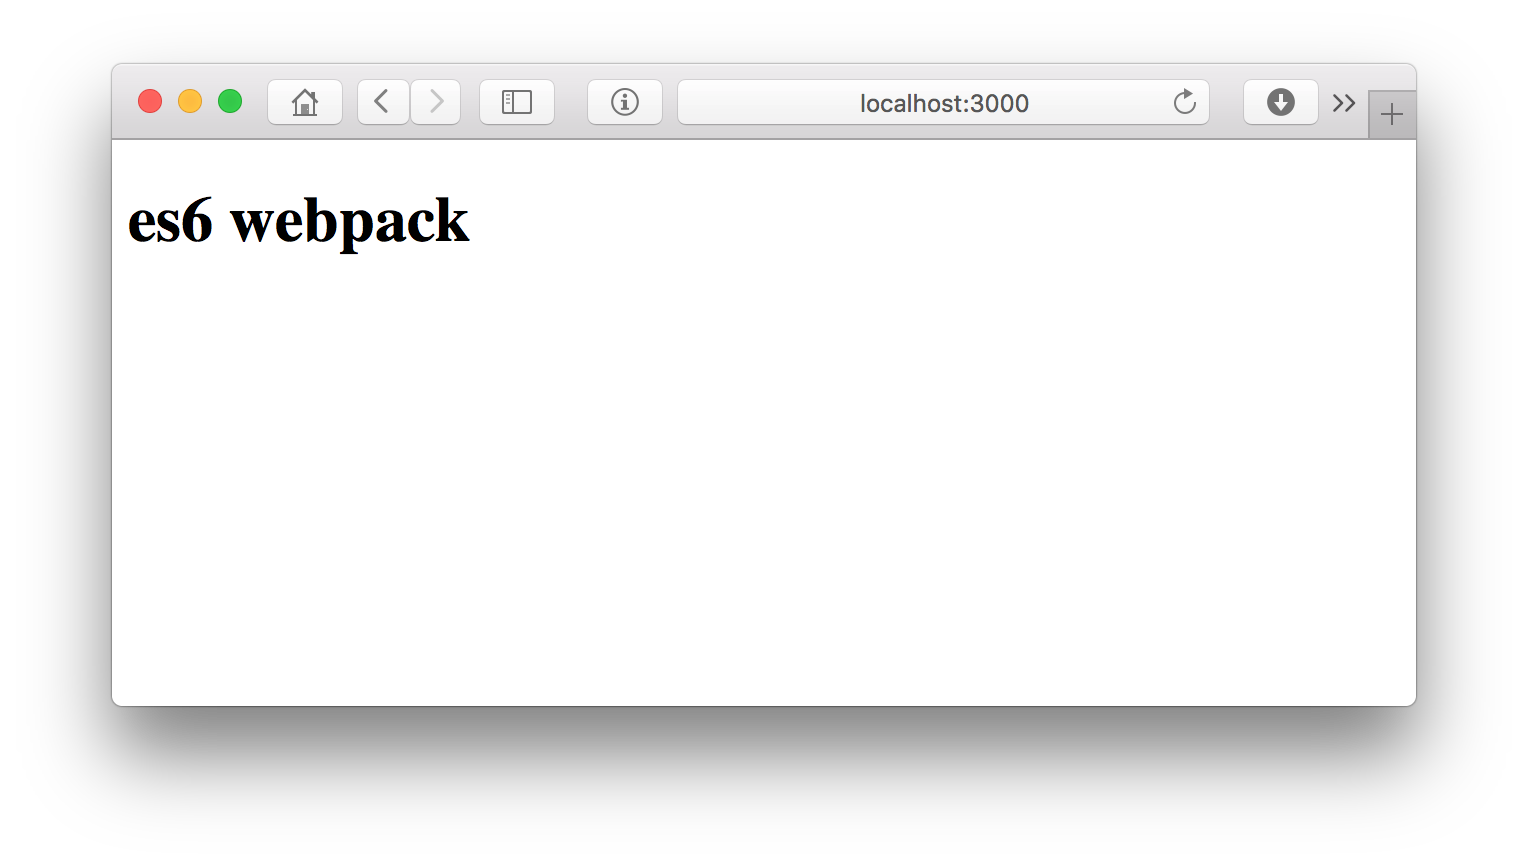
import $ from 'jquery';
let message = 'es6 webpack';$('body').html(`<h1>${message}</h1>`);
And guess what? That’s it.
That’s it
This is a basic webpack tutorial, just a little intro to get you up and running with webpack. It really is an awesome module bundler. There are many more cool things you can do like code splitting
feature flags and
transpile sass.
You can find the final source code of this basic webpack project on GitHub!