Angular 2 Series: Interactive Web Pages with ng-click and ng-if
Following up on our series, we’re going to dive into ng-click and ng-if next.
Creating the project
We’re going to continue with the project from my previous post. I recommend you check that one out first so you get the basic idea of how a template works and know the code that is already there.
The Angular 1.x way
Just like in my previous example, I went ahead and created our desired application in Angular 1.2.
I appended a div to our application with the ngIf directive. It will only show the div if a ctrl.currentPerson is set. We set ctrl.currentPerson after clicking on a list item (with the ng-click directive). Now it’s time to do this in Angular2.
The Angular2 way
First we need to create a function that sets currentPerson to the person clicked, we add this function in our component.ts file (previously repeater.ts).
public currentPerson;
public setPerson = (person) => {  if (this.currentPerson === person) return;  this.currentPerson = person;}
No rocket science here, we set currentPerson to the person passed to our function and do nothing when we click the same person twice.
Time to edit our template! We change our template (previously repeater.html) from
<li *ngFor="#person of people">...</ul>to
<li *ngFor="#person of people" (click)="setPerson(person)">...</ul><img [src]="currentPerson.img" width="200" />You’ll probably notice 2 strange things: the parenthesis and brackets.
- The parenthesis indicate that we’re expecting an event. Instead of
ng-click="fn()"andng-mouseover="fn()"we simply use(click)="fn()"and(mouseover)="fn()". - The brackets indicate a property. Rather than
ng-src="ctrl.value"andng-style="{ 'width': ctrl.value }"we can now easily do[src]="value"and[width]="value".
There is a third one for 2 way data-binding: [(model)] but we will cover that in a later post.
Personal opinion: This notation looks weird at first but makes much more sense after having used it for a bit. Don’t let it scare you!
We’re almost there. This code will unfortunately (but logically) throw an error. Why? Because currentPerson isn’t set by default. And we can’t access the img property of undefined.
To finish the function we have to wrap it in an *ngIf template so that it will never render whilst currentPerson is undefined.
<div *ngIf="currentPerson"> <img [src]="currentPerson.img" width="200" /></div>If you remember my previous post you know that *ng-[directive] is just syntactic sugar. *ngIf is just that for:
<template [ngIf]="currentPerson"> <div> <img [src]="currentPerson.img" width="200" /> </div></template>Done!
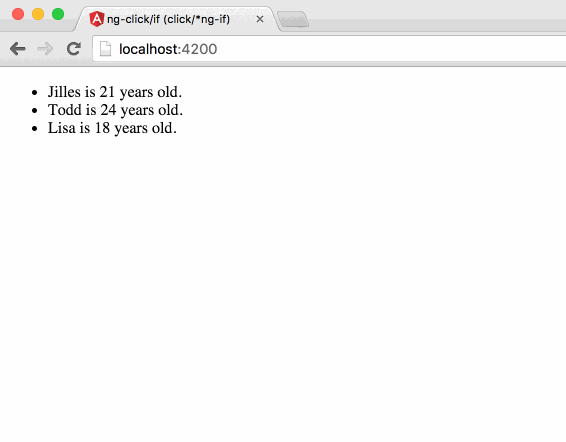
We now have a cool Angular2 image clicking app that looks like this:
This was the second post into my “Angular 1.x built in directives in Angular 2.0” series. I hope you learned something! Stay tuned for my next post.
If you liked it don’t hesitate to message me on Twitter @Jilles.