How to set up Tailwind 3 in Django with Vite and django-vite
In this article we are going to set up Vite for a Django application and use it to install and use Tailwind. You will be able to use this for any other npm packages in the future, too!
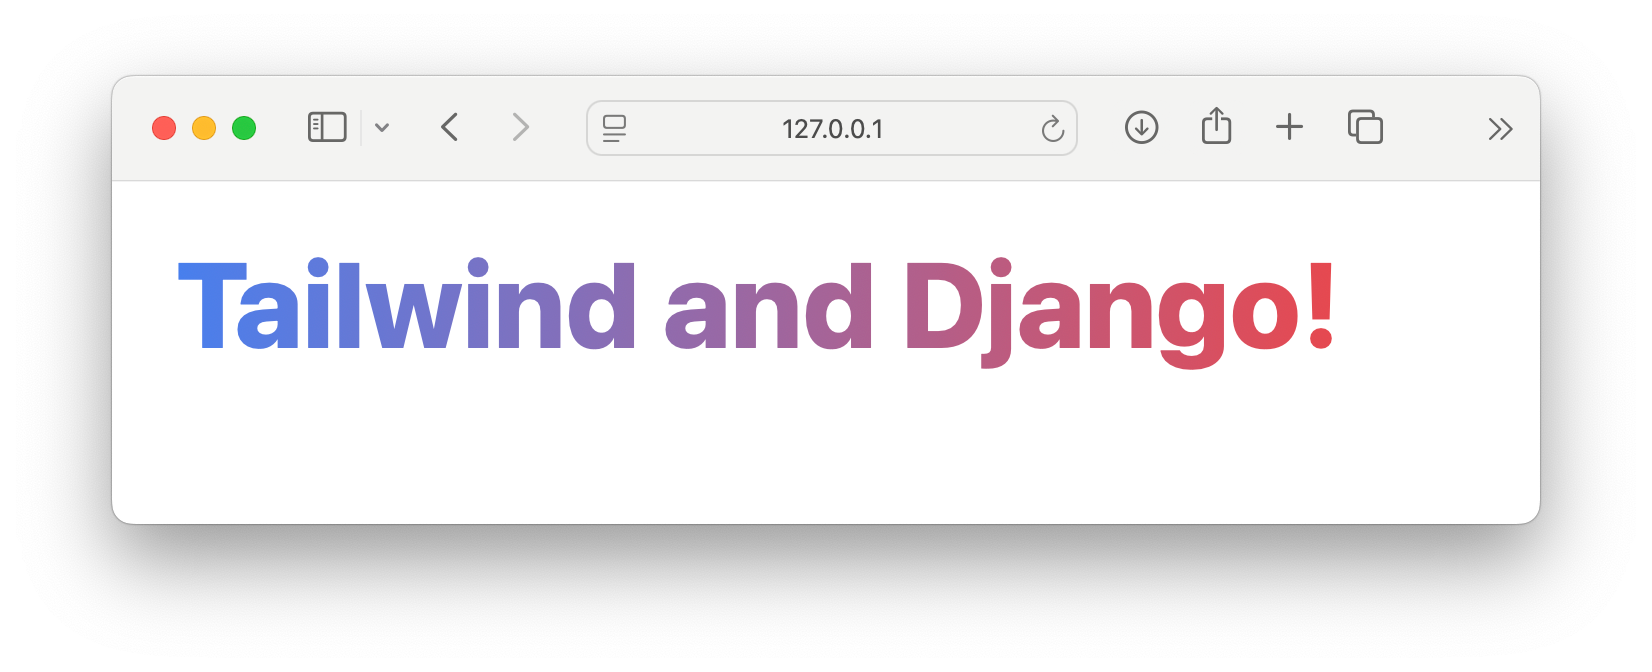
The result
This guide assumes you already have a Django application up and running. If you don’t, you can check my article on Setting up Django 5.1 using Python 3.12 with pyenv and Poetry.
Creating a Vite project
Vite is a blazing fast frontend build tool powering the next generation of web applications. We will be using it simply as a bundler. In the root of your Django application, we will create a new Vite project named webapp.
You might want to call it frontend, but I personally dislike that name. When incorporating Django templates there isn’t a classic “frontend/backend” split.
I personally use pnpm but for the sake of this tutorial I will use npm as that is what most people use, see Vite’s Getting Started page if you’re using yarn or anther package manager.
$ npm create vite@latest webapp -- --template vanillaThis will have created a folder named webapp.
Adding Tailwind
Now that we have our Vite project, we can add Tailwind by simply following their guide.
$ npm install -D tailwindcss@3 postcss autoprefixer$ npx tailwindcss init -pThis creates the necessary files:
- tailwind.config.js
- postcss.config.js
We only need to update the tailwind config to point to our Django templates. You can write an intelligent script for this (e.g. by using fs to scan directories with a templates folder), but we will just add our django template folders manually. Open tailwind.config.js and add your templates folder(s):
/** @type {import('tailwindcss').Config} */export default { content: [ "../homepage/templates/**/*.html", ], theme: { extend: {}, }, plugins: [],}This configration will look one folder above the webapp for the homepage application. This is a Django app which I created simply with python manage.py startapp homepage – You will likely have different apps.
The create-vite-app tool already created a style.css file for us in webapp/src/style.css. You can remove the existing content and replace it with:
@tailwind base;@tailwind components;@tailwind utilities;Creating a django-vite compatible vite.config.js
Finally we need to create a Vite config file. We will point it to our ‘src/style.css’ and set up the required Vite properties for django-vite to work correctly.
import { defineConfig } from 'vite'import { resolve } from 'path'
export default defineConfig((mode) => {    return {        plugins: [],        base: '/static/', // Important later!        build: {            manifest: true,            emptyOutDir: true,            outDir: resolve('./dist'), // Important later!            rollupOptions: {                input: {                    tailwind: resolve('./src/style.css'),                },            },        },    };});
Now that we have our config, it’s time to run our Vite development server:
$ npm run dev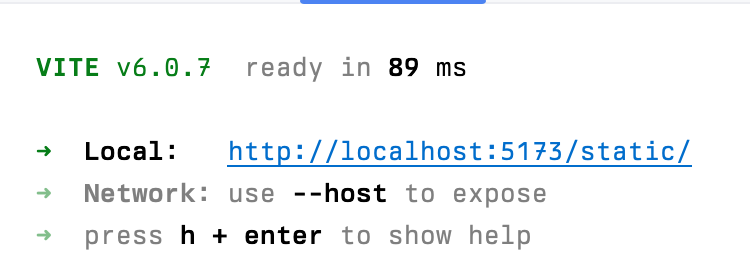
You can open this URL and see a working vanilla JavaScript application with a counter, but you can ignore this for now.
Installing django-vite
Now that we have a Vite project with Tailwind set up, we need to link it to our assets in our Django templates. Let’s add django-vite and set it up!
$ poetry add django-viteNext we need to configure it in our settings.py file:
INSTALLED_APPS = [    'django.contrib.admin',    ...    'django_vite',]
...
# Static files (CSS, JavaScript, Images)# https://docs.djangoproject.com/en/5.1/howto/static-files/
STATIC_URL = 'static/'STATIC_ROOT = BASE_DIR / 'staticfiles'STATICFILES_DIRS = [    BASE_DIR / "webapp/dist" # Matches vite config!]
DJANGO_VITE = {    "default": {        "dev_mode": DEBUG,    }}
Now we just need a Django template that uses Tailwind utility classes. The ones we pointed to earlier in the tailwind.config.js file.
It will have 3 important parts
- The
{% load django_vite %}tag - The
{% vite_hmr_client %}tag to enable hot module reloading - The
{% vite_asset_url 'src/style.css' %}tag to point to our stylesheet
{% load django_vite %}<!doctype html><html lang="en"><head> <meta charset="UTF-8"> <meta name="viewport" content="width=device-width, initial-scale=1"> <title>Tailwind 🤝🏻 Django</title> {% vite_hmr_client %} <link rel="stylesheet" href="{% vite_asset_url 'src/style.css' %}" /></head><body><h1 class="p-8 text-6xl inline-block font-extrabold text-transparent bg-clip-text bg-gradient-to-r from-blue-500 to-red-500"> Tailwind and Django!</h1></body></html>Now when we run our server we should see the following:
It works!
Bonus: Adding npm packages
I know you came here just for Tailwind, but since we added Vite I would be remiss not to show you how to add JavaScript packages.
$ npm install --save canvas-confettiThen let’s open main.js (created by our create-vite-project) and replace the contents with:
import 'vite/modulepreload-polyfill';import confetti from 'canvas-confetti';
document.querySelector('h1').addEventListener('mouseenter', () => {    confetti({        particleCount: 100,        startVelocity: 30,        spread: 360,        origin: {            x: Math.random(),            y: Math.random() - 0.2        }    });});
This will trigger some confetti when the mouse enters our h1. Note that this code is just for demonstration purposes because we know there is a single h1 in our template.
Now we need to update our vite.config.js include main.js:
...export default defineConfig((mode) => { return { ... build: { ... rollupOptions: { input: { main: resolve('./src/main.js'), // New! tailwind: resolve('./src/style.css'), }, }, }, };});And load it in our Django template.
...<body><h1 class="p-8 text-6xl inline-block font-extrabold text-transparent bg-clip-text bg-gradient-to-r from-blue-500  to-red-500">    Tailwind and Django!</h1>
{% vite_asset 'src/main.js' %}</body>
Added main.js
And our final result: