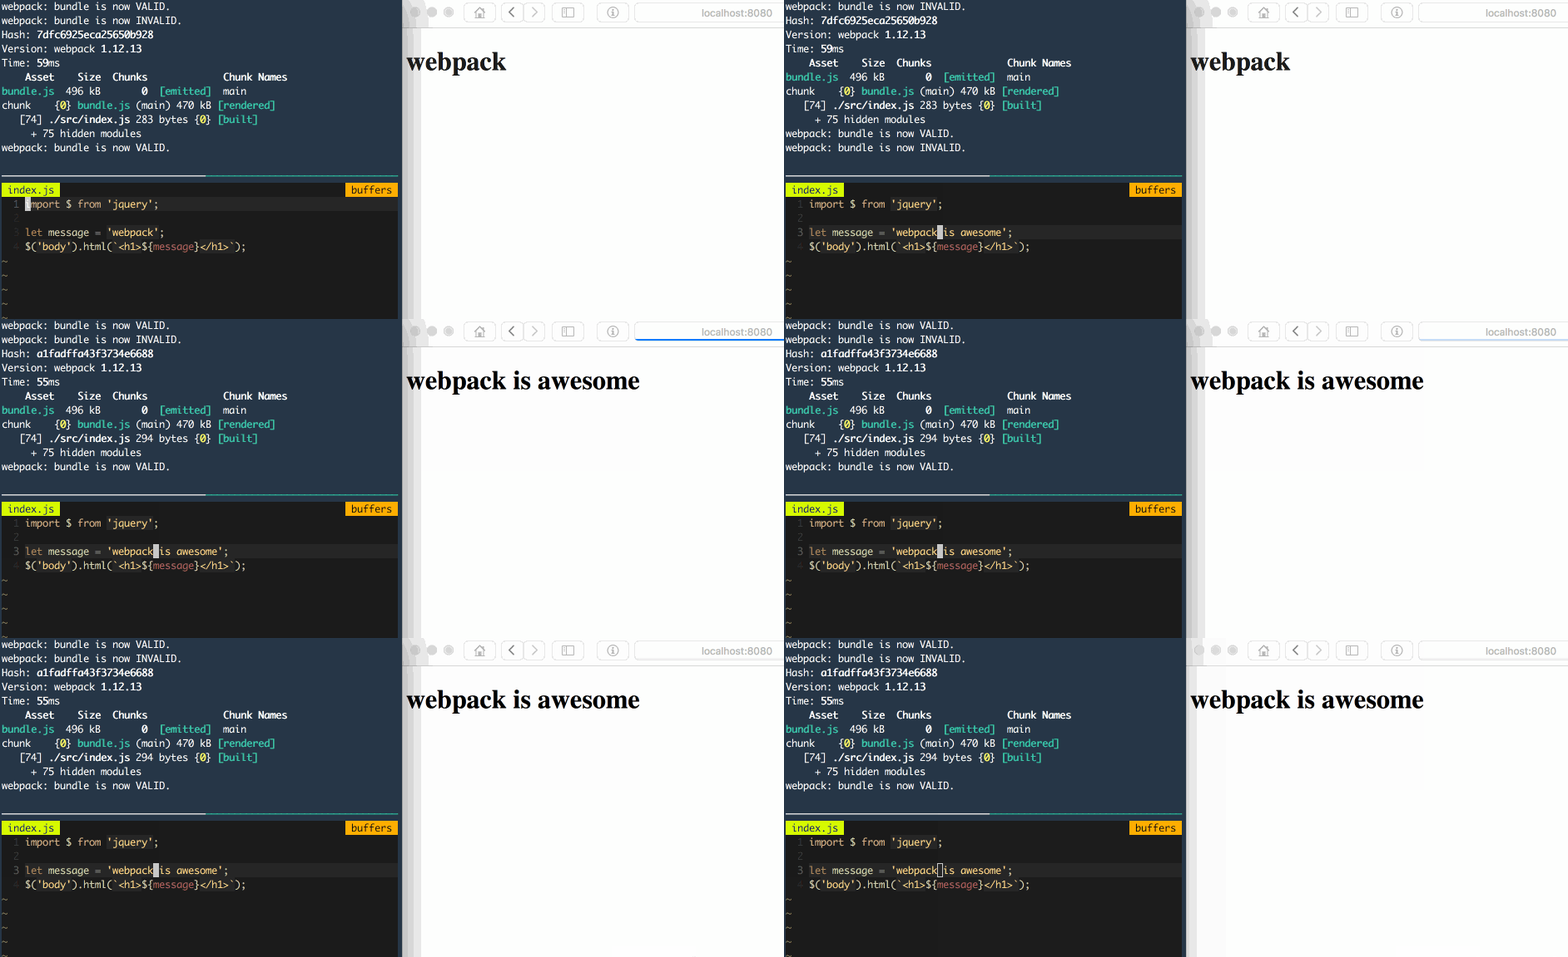
One of the things that makes webpack so great is its built-in plugins and features. Today we will discuss using webpack-dev-server, splitting our bundles and enabling feature flags.
I will assume you already know the webpack basics, if not make sure to read my previous post on webpack first, called "webpack is not as complicated as you think."
webpack-dev-server
In my previous post I used serve to serve our bundle. Whilst this is a great npm package for serving files, webpack comes with its own solution called webpack-dev-server. You will have to install it globally once with npm install webpack-dev-server -g and you'll be able to use it in any webpack project!
As usual we will have to configure it to make it the most out of it. Luckily for us, it's only a few more lines into our webpack.config.js.
...
  devServer: {
    // folder to serve content from
    contentBase: './public',
    // serves from localhost:8080/ instead of localhost:8080/webpack-dev-server
    inline: true
  },
...
You can specify much more options but this is most likely enough to start with.
Now all you have to do is run webpack-dev-server and you will have a running development server that watches your JS files and has built-in livereload.

Bundle splitting
The next cool feature is bundle splitting. Today it's all about Single Page Applications right? Most apps currently have one big app.js and maybe a libs.js when they are not using a CDN.
Say you have an application that also has admin panel or some features not all users have. Does it make sense to have those people download code they can't / won't use anyway? No.
This is where bundle splitting comes in handy. It's really easy to set up, too.
...
  entry: {
    normal: './src/normal.js',
    admin: './src/admin.js'
  },
  output: {
    path: './public',
    filename: '[name]-bundle.js'
  }
...
Instead of entry being one input file (index.js) it is now an object containing the name of the bundle as a key and the source as value. In the output you should change the filename to contain [name] somewhere. This will be replaced with the name of the bundle. For this config it would create normal-bundle.js and admin-bundle.js.
Feature flags
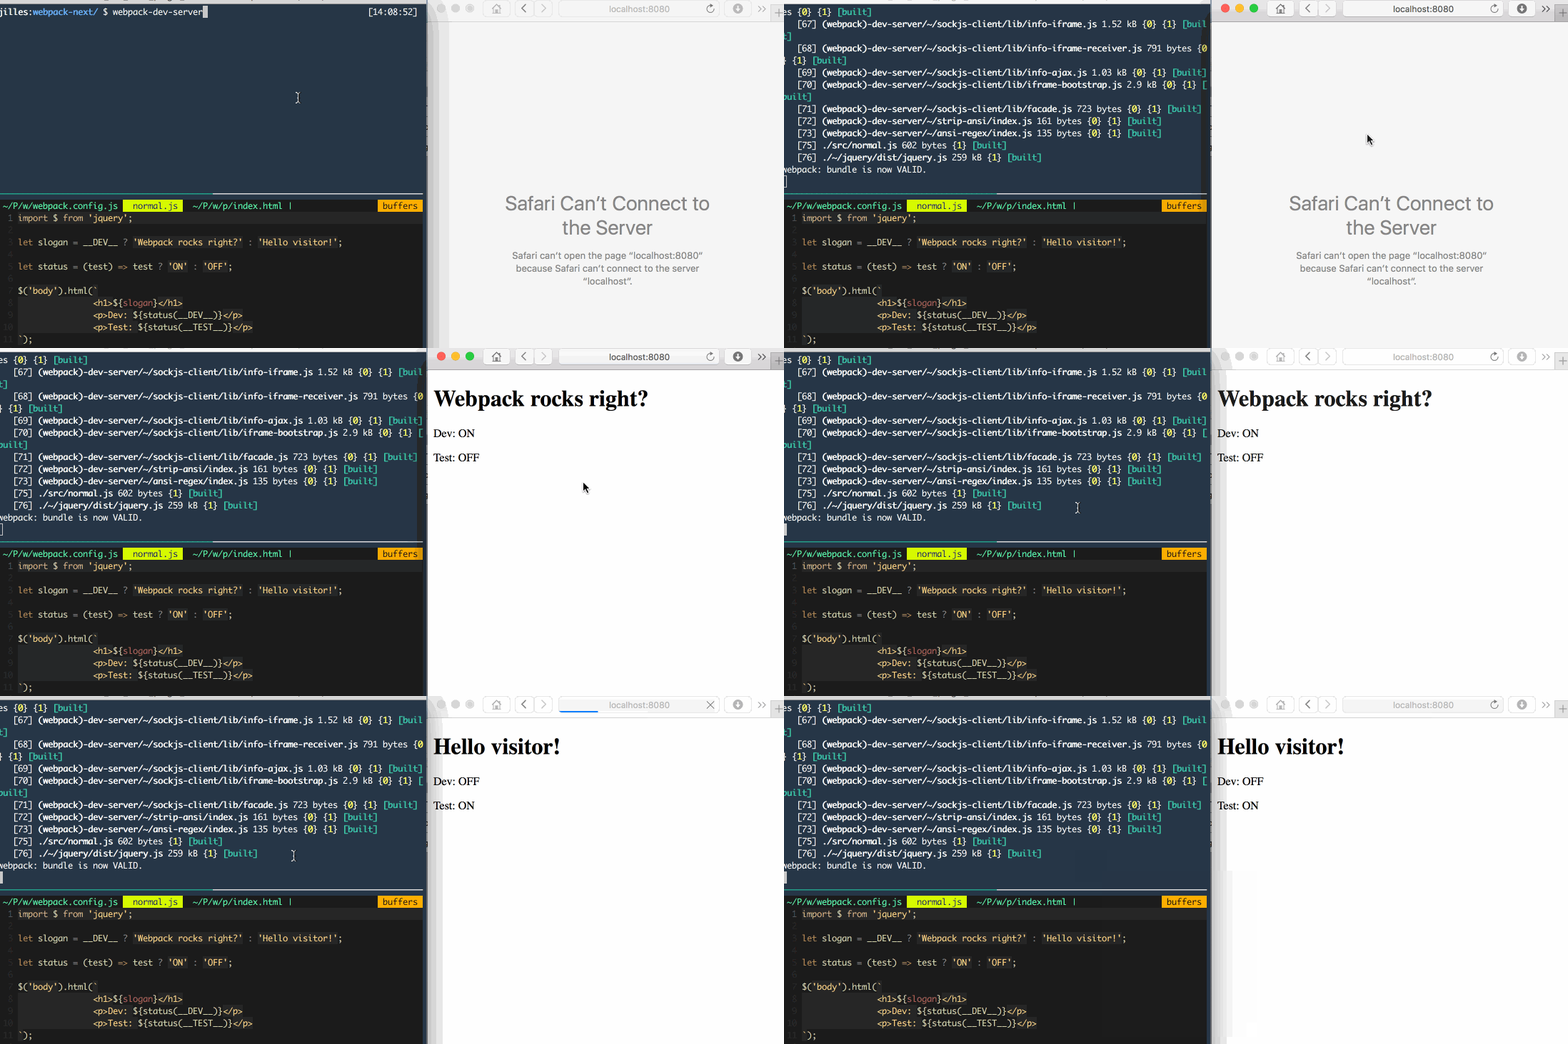
Finally we also have feature flags, a way to specify globals from your webpack.config.js. We do this with a plugin called DefinePlugin. It's called define plugin because it lets you define free variables.
It is built into to webpack so all we really have to do is load webpack. As our webpack.config.js is just JavaScript we can require() it. After we have required it, we also need to add the plugin to our config.
var webpack = require('webpack');
var featureFlags = new webpack.DefinePlugin({
  __DEV__: process.env.DEV || true,
  __TEST__: process.env.TEST || false
});
...
module.exports = {
  ...
  plugins: [featureFlags]
}
Now if we run webpack-dev-server again, __DEV__ will be true and __TEST__ will be false because our environment variables aren't set. However, if we run DEV=0 TEST=1 webpack-dev-server __DEV__ will be falsy (0) and __TEST__ will be truthy (1).

It's important to note that the DefinePlugin uses strings as code fragments. So if you'd have new webpackDefinePlugin({ VERSION: '1.0.0' }); it will throw an error. Instead use JSON.stringify('1.0.0'); and everything will run smoothly.
That's a wrap
All the code written here is available on GitHub. I hope this post got you a little more into webpack. Next time we'll talk about another killer featured called async bundle loading.
If you liked this (or not) don't hesitate to message me on Twitter @Jilles.

