Angular 2 Series: Dynamic Lists and Repetition with ng-repeat
After playing around with Angular2, I learned a lot of new cool stuff about the framework. In this series of posts I am going to show you how to do “Angular 1.x built in directives” in Angular2.
Getting started
To start a new project we are going to use Angular2 CLI. The CLI tool is still very much a work in progress but so is Angular2. Install the cli tool by running:
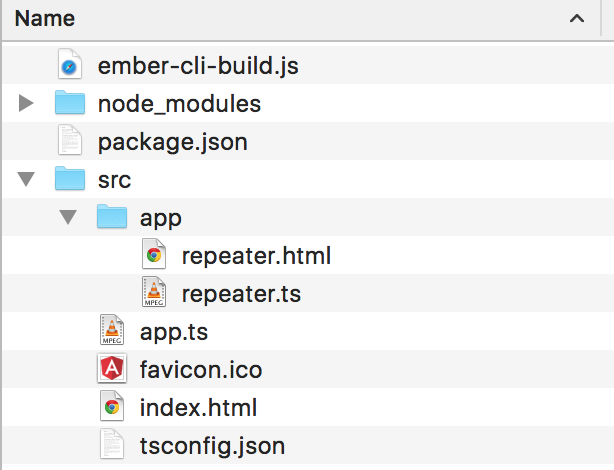
npm install -g angular-cliWhen the installation is complete you can create a new project using ng new [app_name]. I called mine repeater but you can call yours whatever you like. It will run for a bit and give you something like the following result:

(Angular2’s cli tool is based of Ember’s cli, because it is still a work in progress, you will see a lot of Ember references)
Run ng serve from your app directory and we are ready to code!
The Angular 1.x way
Because Angular2 is built with components in mind, we’re going to create a directive called repeater. Check out the following code.
This should be pretty clear to you. Now let’s turn this beauty into an Angular2 component!
The Angular 2 way
In Angular2 we are going to create the same repeater component. Open up app/repeater.js and let’s get started.
We only need one import for this: Component, Component is a decorator much like in Python.
So our first line becomes:
import {Component} from 'angular2/angular2';Time for our decorator. It is going to take an object with only 2 properties.
- selector: The component name, so
repeaterwould be for<repeater></repeater> - templateUrl: File path to our template, if you prefer to use ES6’s template strings you should change the key to
template.
This will give us something like:
@Component({ selector: 'repeater', templateUrl: 'app/repeater.html'})Last but not least for our component we need data. Where we used vm.data in Angular 1.x, we are going to use TypeScripts public keyword. resulting in:
export class Repeater { public users = [ { name: 'Jilles', age: 21 }, { name: 'Todd', age: 24 }, { name: 'Lisa', age: 18 } ];}That’s it for our JavaScript TypeScript, all that’s left is our template.
Open up app/repeater.html and add the following HTML.
<ul> <li *ngFor="#user of users"> {{ user.name }} is {{ user.age }} years old. </li><ul>As you can see there’s no more ng-repeat, it’s ngFor now. You are probably thinking: “why the asterisk?!”. The answer to that is, it’s syntactic sugar. What you’re really doing is:
<ul> <template ng-for #user [ng-for-of]="users"> <li>{{ user.name }} is {{ user.age }} years old.</li> </template></ul>I find the former much more readable. You could use the latter if you had to repeat multiple elements without a parent element (much like ng-repeat-start and ng-repeat-end in Angular 1.x)
Bootstrapping your app
The last thing you need to do is to bootstrap your app. We do that in app.ts and index.html
Import bootstrap from angular2 and your component from your component file. {Repeater} needs to match your export class [name]. After that simply call bootstrap on your component!
import {bootstrap} from 'angular2/angular2';import {Repeater} from './app/repeater';
bootstrap(Repeater);
If you changed your component’s name after using the cli tool you’ll have to change the name in index.html. Change the tag name to the value of your selector property in your decorator and you are ready to go.
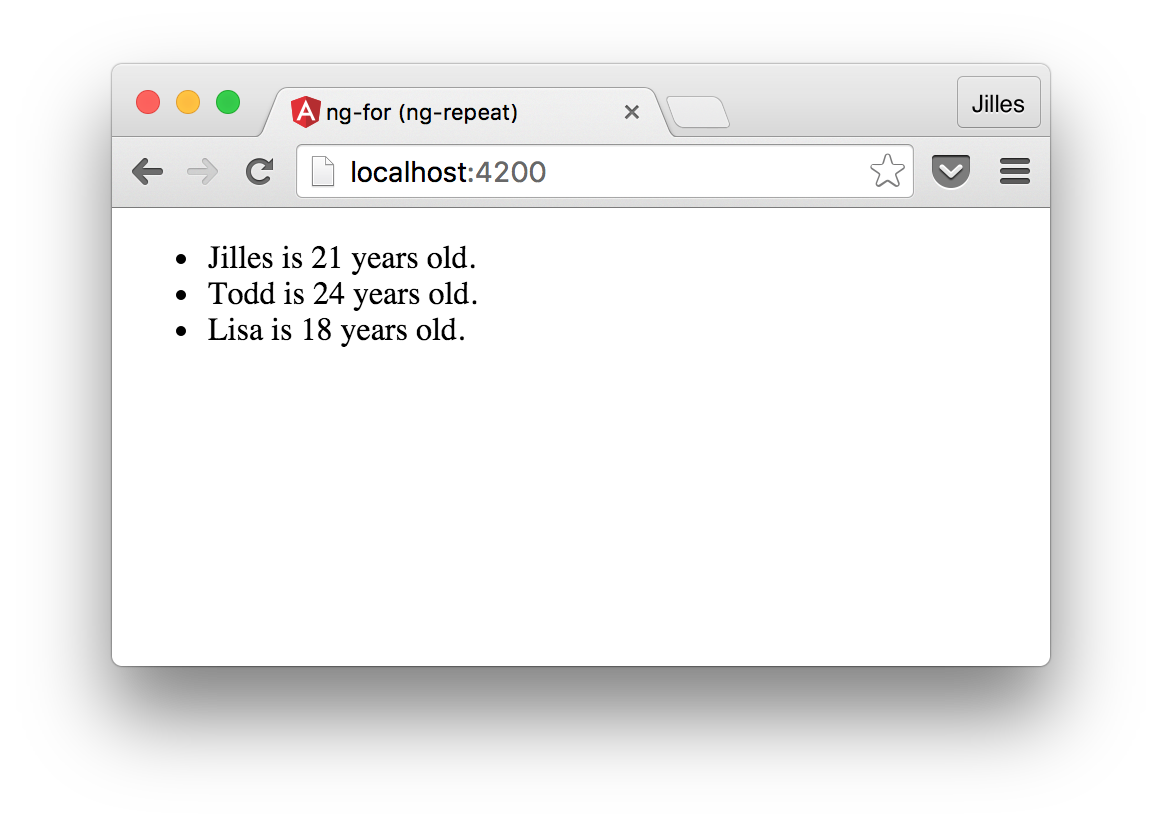
Navigate to http://localhost:4200 and you should see a beautiful list.

Done!
This was the first post into my “Angular 1.x built in directives in Angular 2.0” series. I hope you liked it and stay tuned for my next post!
If you liked it don’t hesitate to message me on Twitter @Jilles.