As a developer you probably spend a lot of time using the terminal. Whether you only use it a couple of times a day or day in day out, your terminal should feel good. If your terminal still looks something like this:
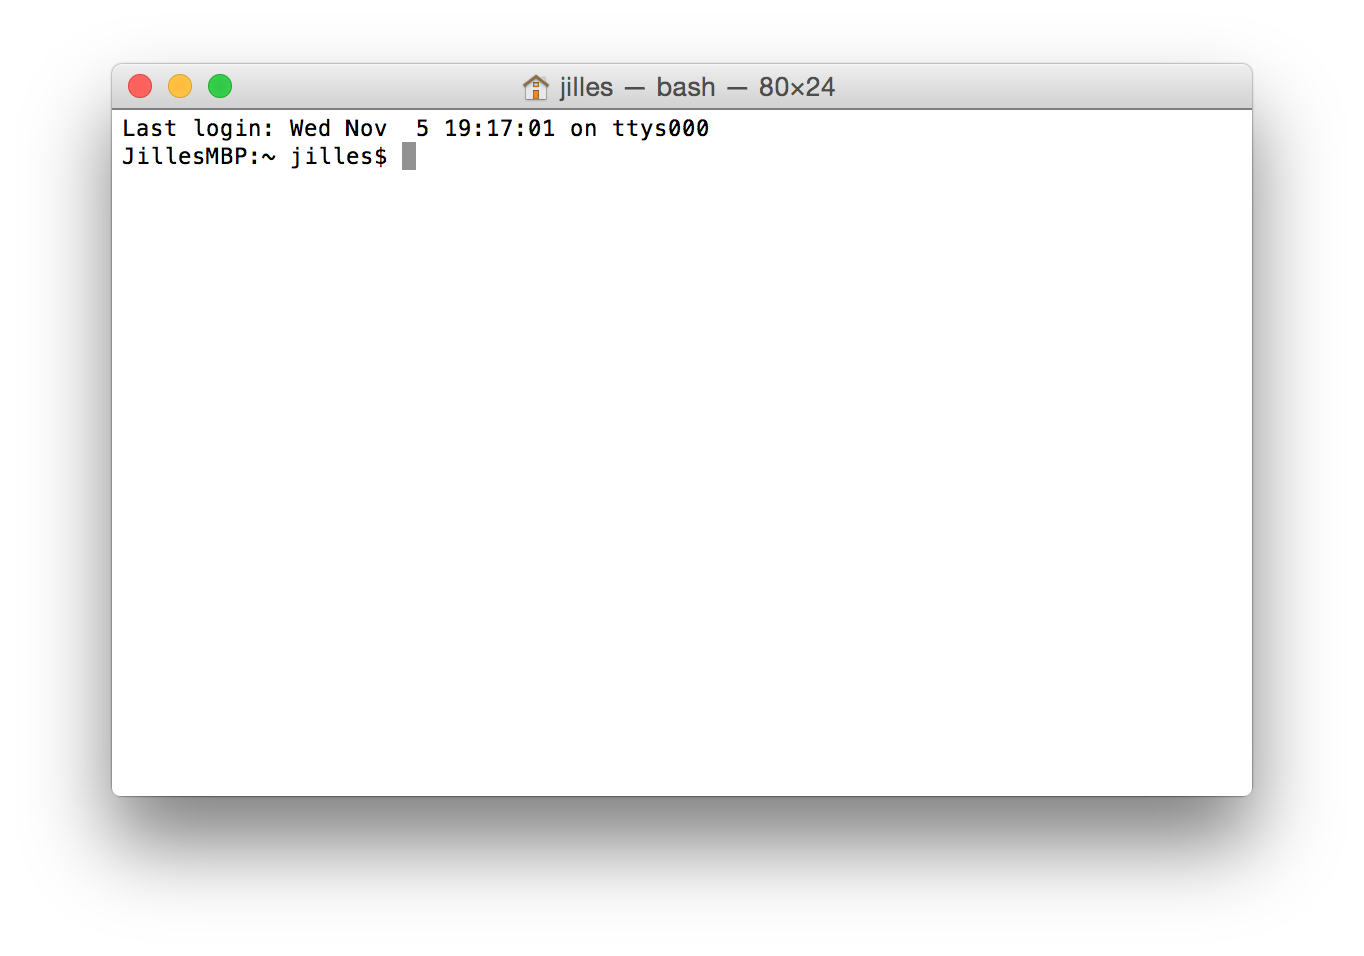
You're going to love this post.
(If you're a windows user none of this is really relevant to you. However as @chrismckee pointed out, there's a good Windows alternative nowadays called cmder)
First things first
Before we really start, you probably want to get rid of that 'last login' message at the top of each session. It's as easy as touch ~/.hushlogin. This creates an empty hushlogin file in your home directory which tells your shell not to show that message.
iTerm
This is the only part of this post that's OS X only.
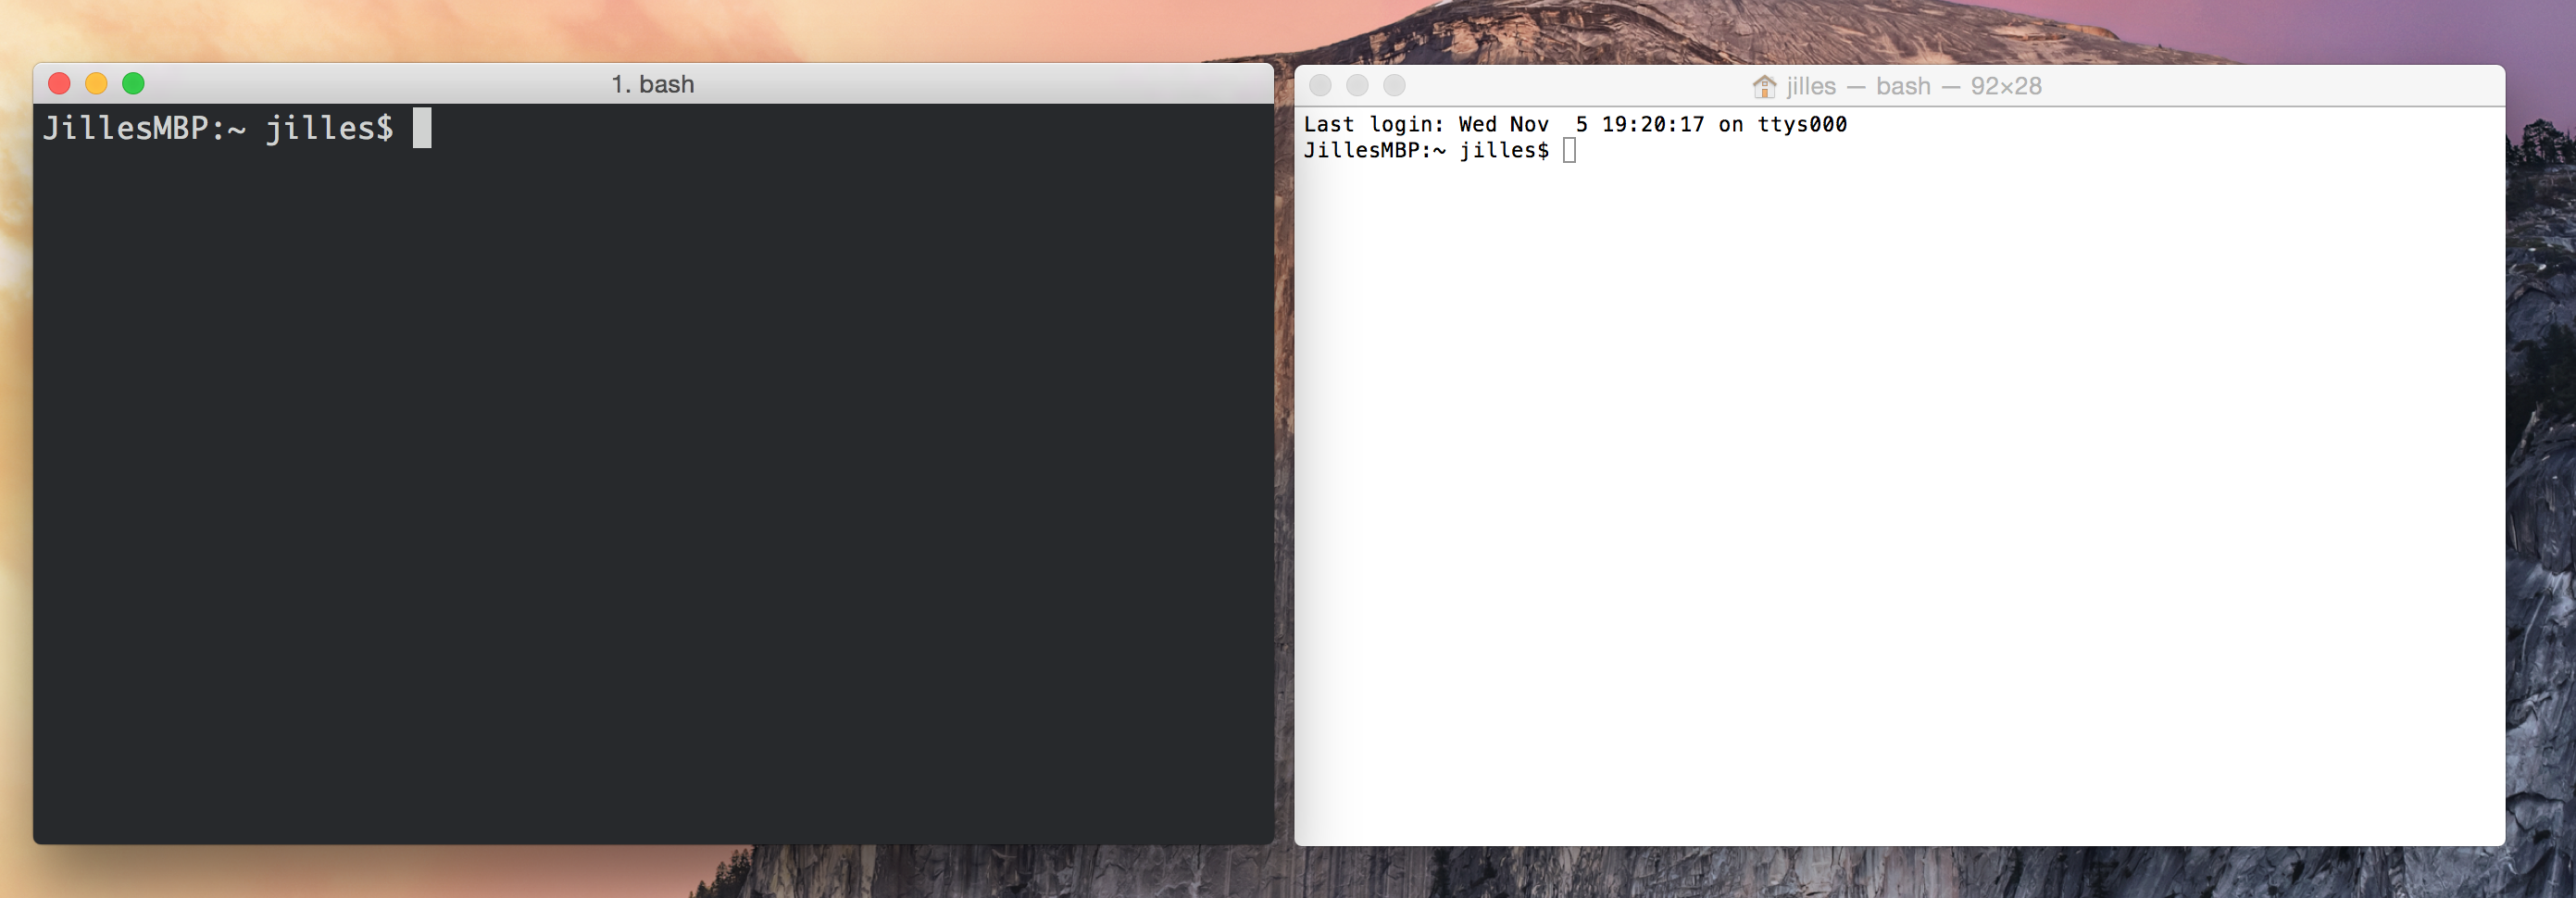
The first thing you want to do is install iTerm2. It's a replacement for the Terminal.app for Mac. It's much more customisable than the default terminal and has a lot of cool features. The one I like the most is their split panes. Which gives you the ability to well.. Split your Terminal panes. Search is also really neat, it's like searching in Chrome / Firefox.
Here's a comparison (iTerm on the left)
zsh
The default shell on most systems is bash. While bash is a perfectly fine shell, zsh is more customisable, faster (so they say) and has some amazing plugins which I'll discuss later on in this post. It does everything bash does and comes pre-installed on any Mac. It's an outdated version though, so you want to use homebrew to install the latest version.
$ brew install zsh
If you're on Linux... Well come on you're using Linux! You know how to change shells?! If you don't, run
chsh -s `which zsh`
To change your shell on a OS X you can either run chsh -s /usr/local/bin/zsh or go to System Preferences -> Users & Groups -> Click the lock -> Right click your user -> Advanced Options -> and paste /usr/local/bin/zsh in the login shell field.
The best thing about zsh is it's support for autocompletion. For example if I type git <TAB> (where
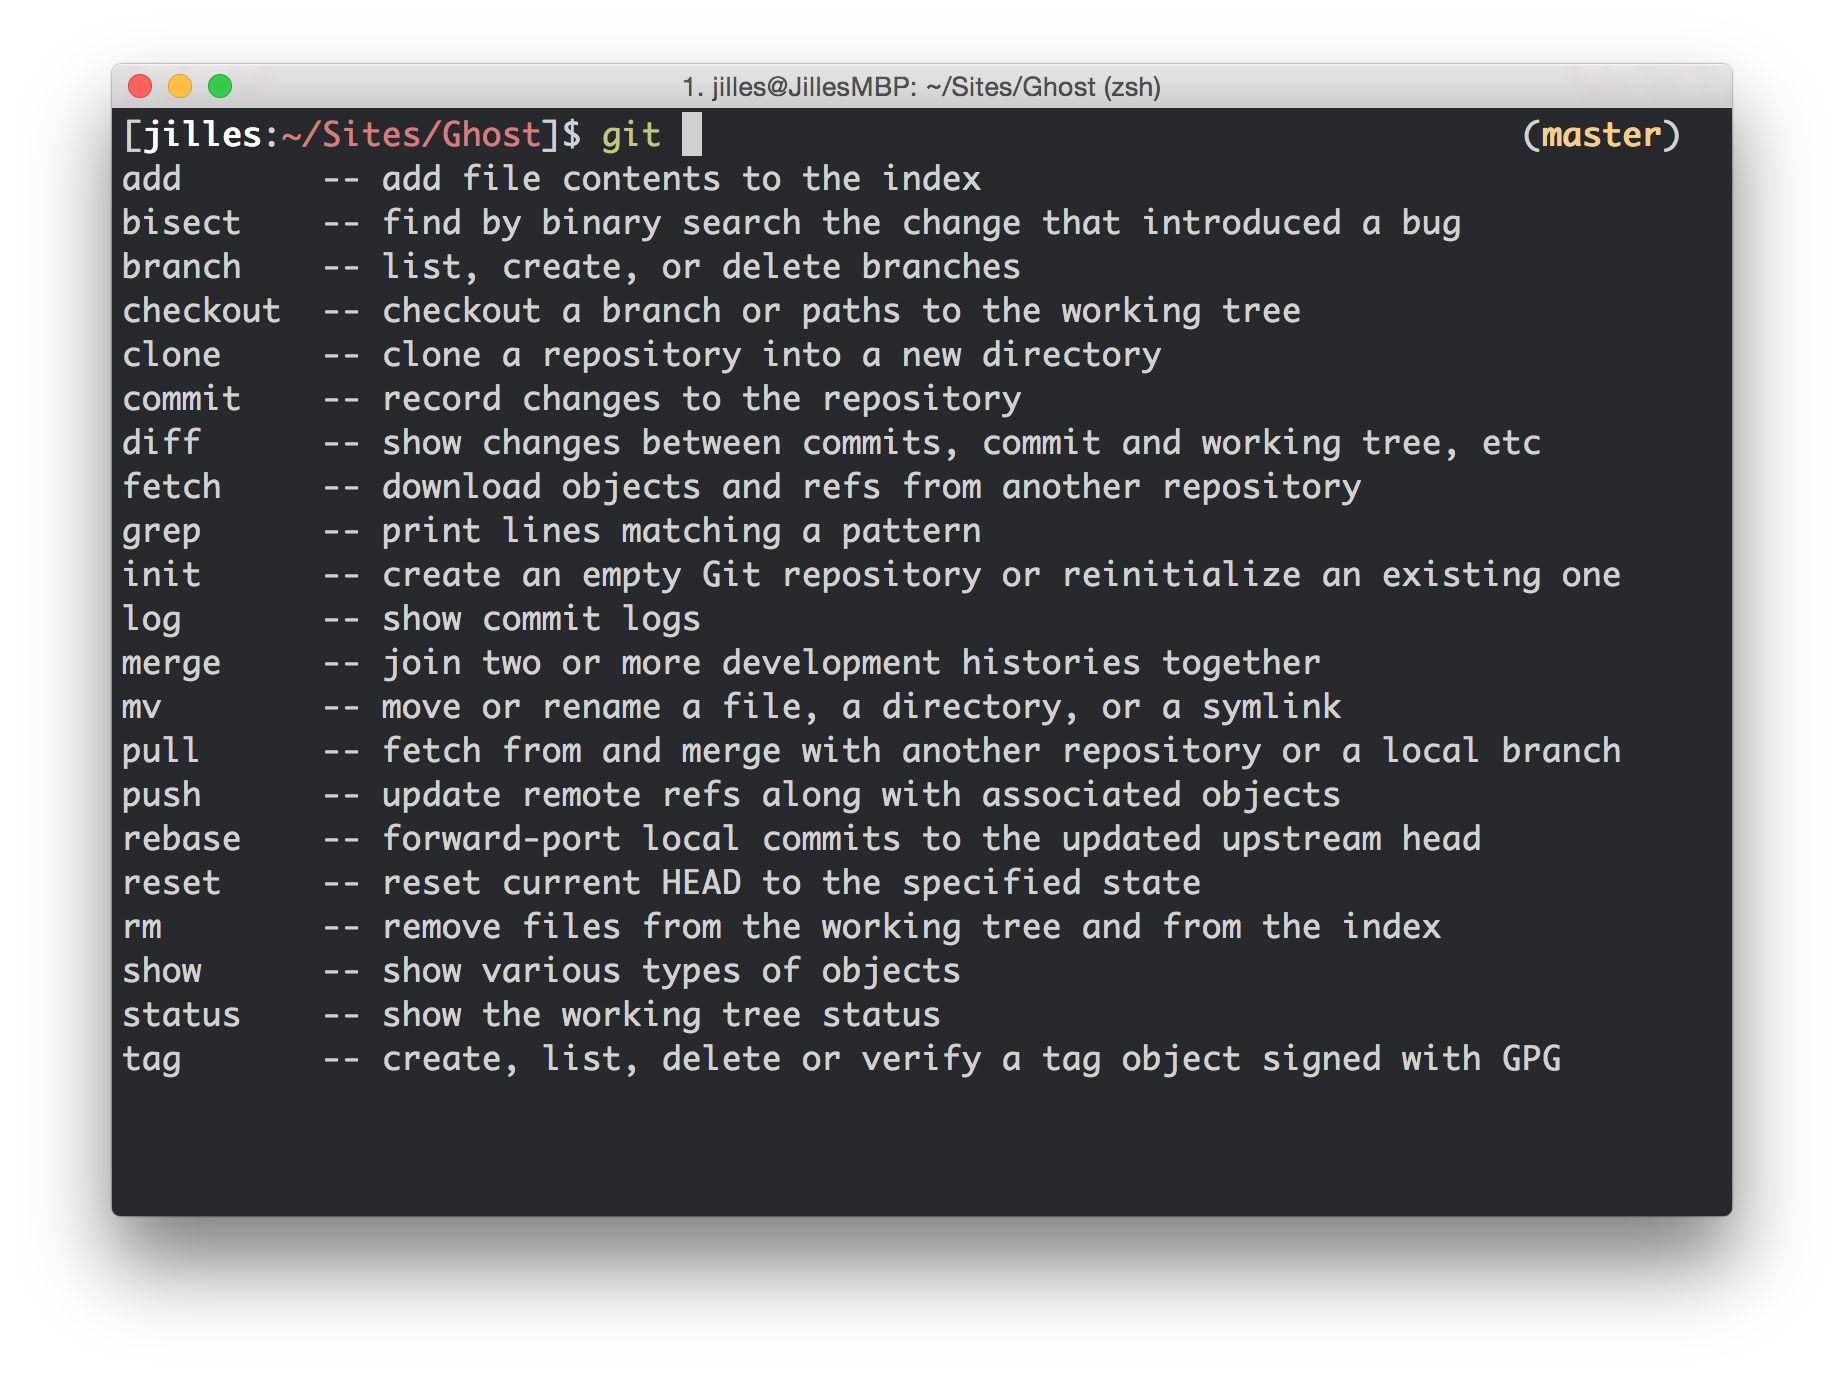
It also works when you've only typed one letter, so when you type git pu<TAB> you get suggestions for push & pull.
oh-my-zsh
If you think my terminal looks amazing, that's because of oh-my-zsh (the main reason I have zsh). It's a community-driven framework for managing your zsh configuration and it has over 120 plugins for your workflow (ie git, homebrew, npm).
To install it (after you've switched to zsh of course), run the following command:
$ curl -L http://install.ohmyz.sh | sh
If you don't trust that, just check out the GitHub repo on how to do it manually.
You will now have a ~/.zshrc in your home directory, this is your configuration file. Open it up with your favourite text editor and let's have some fun!
You can choose from a wide variety of themes, luckily you don't have to try them all first to know what they look like. There's a nice theme showcase on GitHub.
Pick the one that suits you end change your ZSH_THEME. I personally have mh so my .zshrc contains:
ZSH_THEME="mh"
Which looks plain and simple like this.
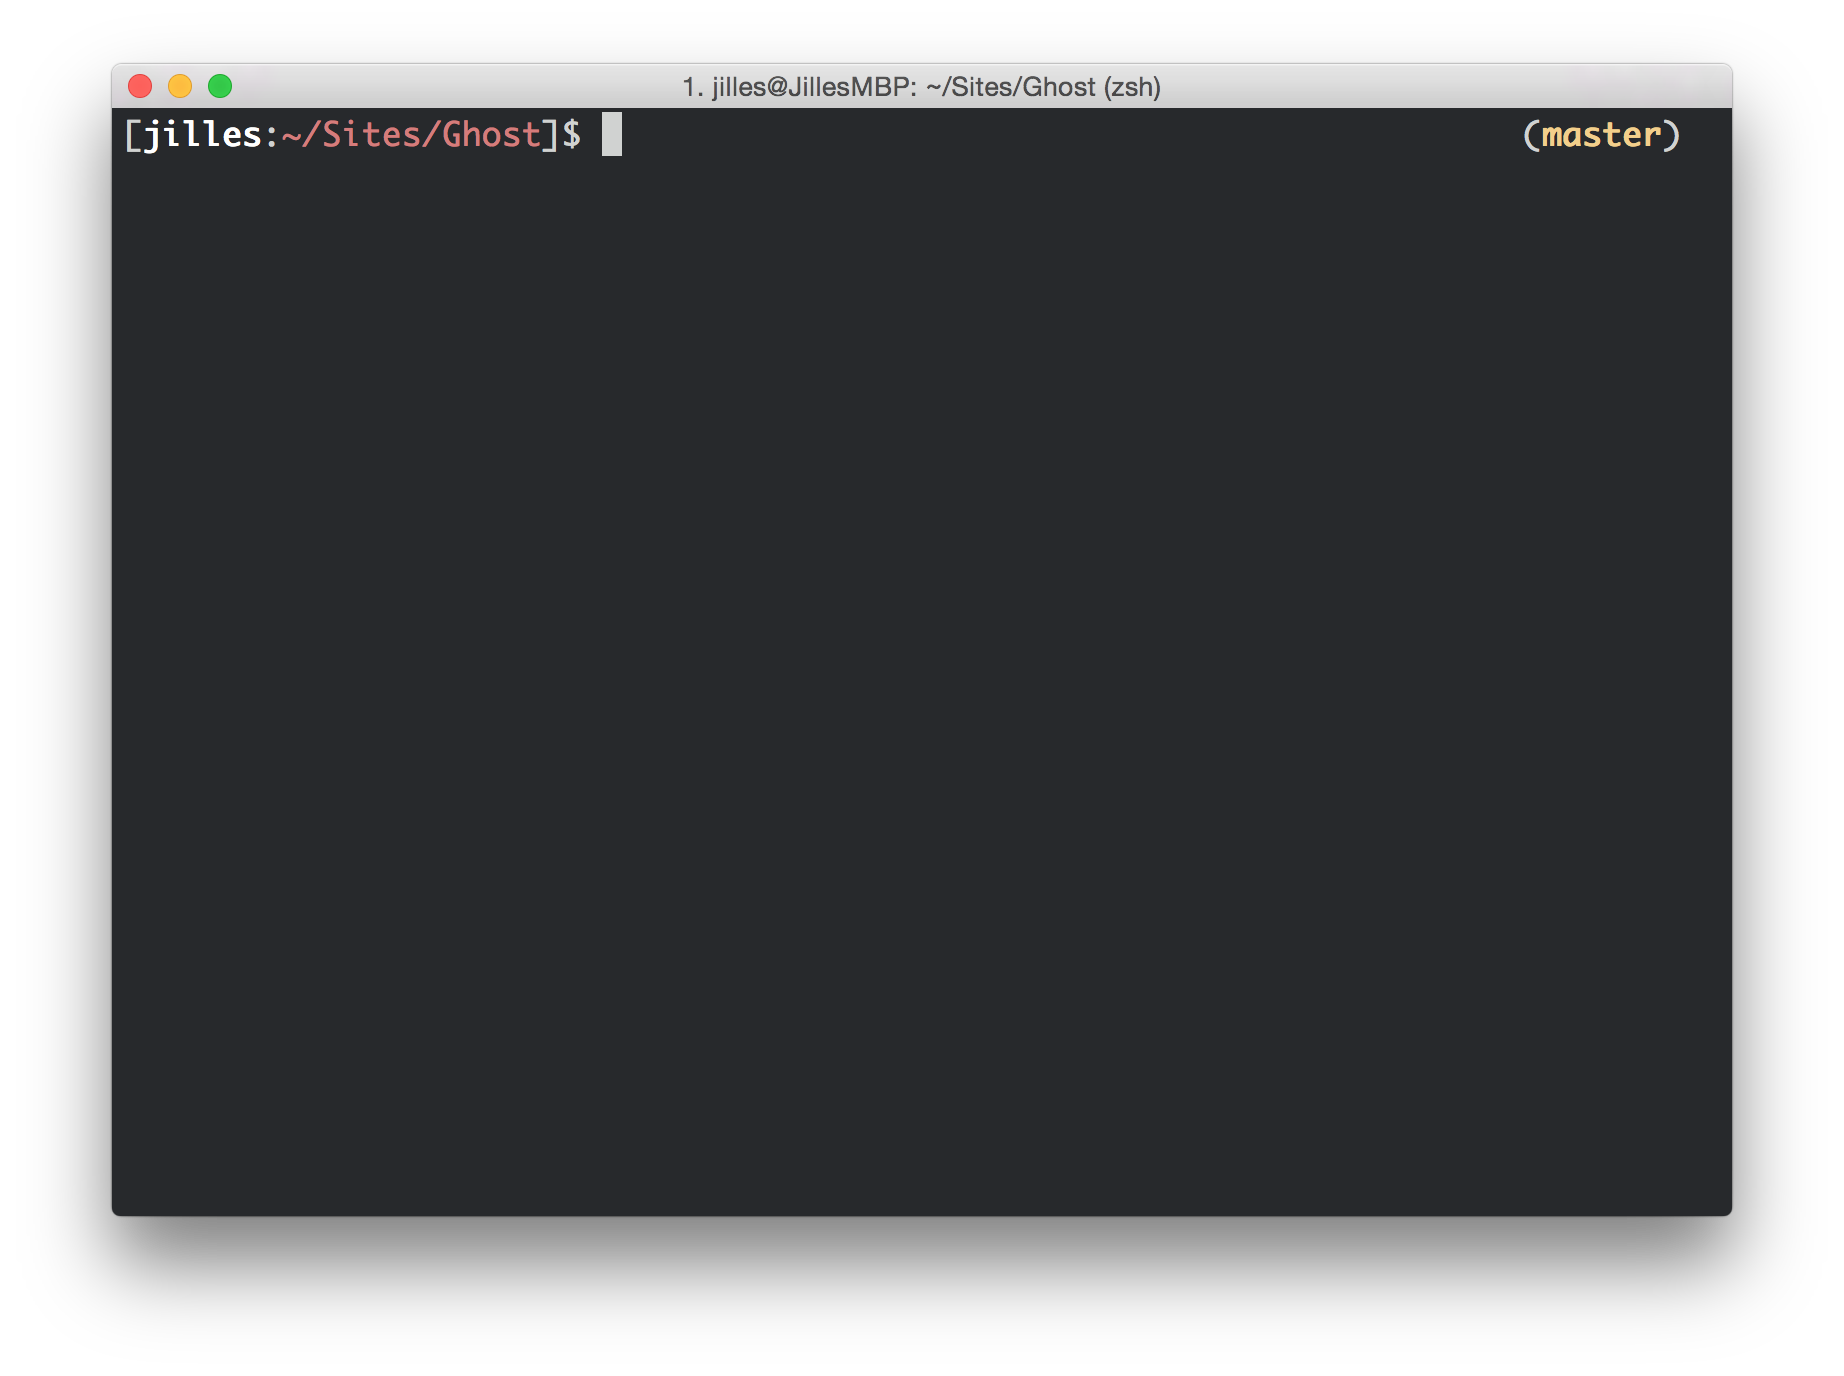
Don't you just love that git branch on the right? It get's even better with plugins!
In your .zshrc you have a line that says something like
plugins=(git brew npm)
These are separated by spaces, you can find a full list of plugins here. They're all installed already, you just have to enable them by adding them to your plugins line. Plugins are a set of aliases and functions that can help you with your workflow. Why type a long line to see git commits when you can just type glog?!
You'll find more information about what each plugin does just by looking into the plugin.zsh file.
zsh-syntax-highlighting
This one is new for most people and it blew everyone's mind at work. It's called zsh-syntax-highlighting, inspired by Fish's syntax highlighting (another shell). It tells you if a command is valid before you hit the enter key.
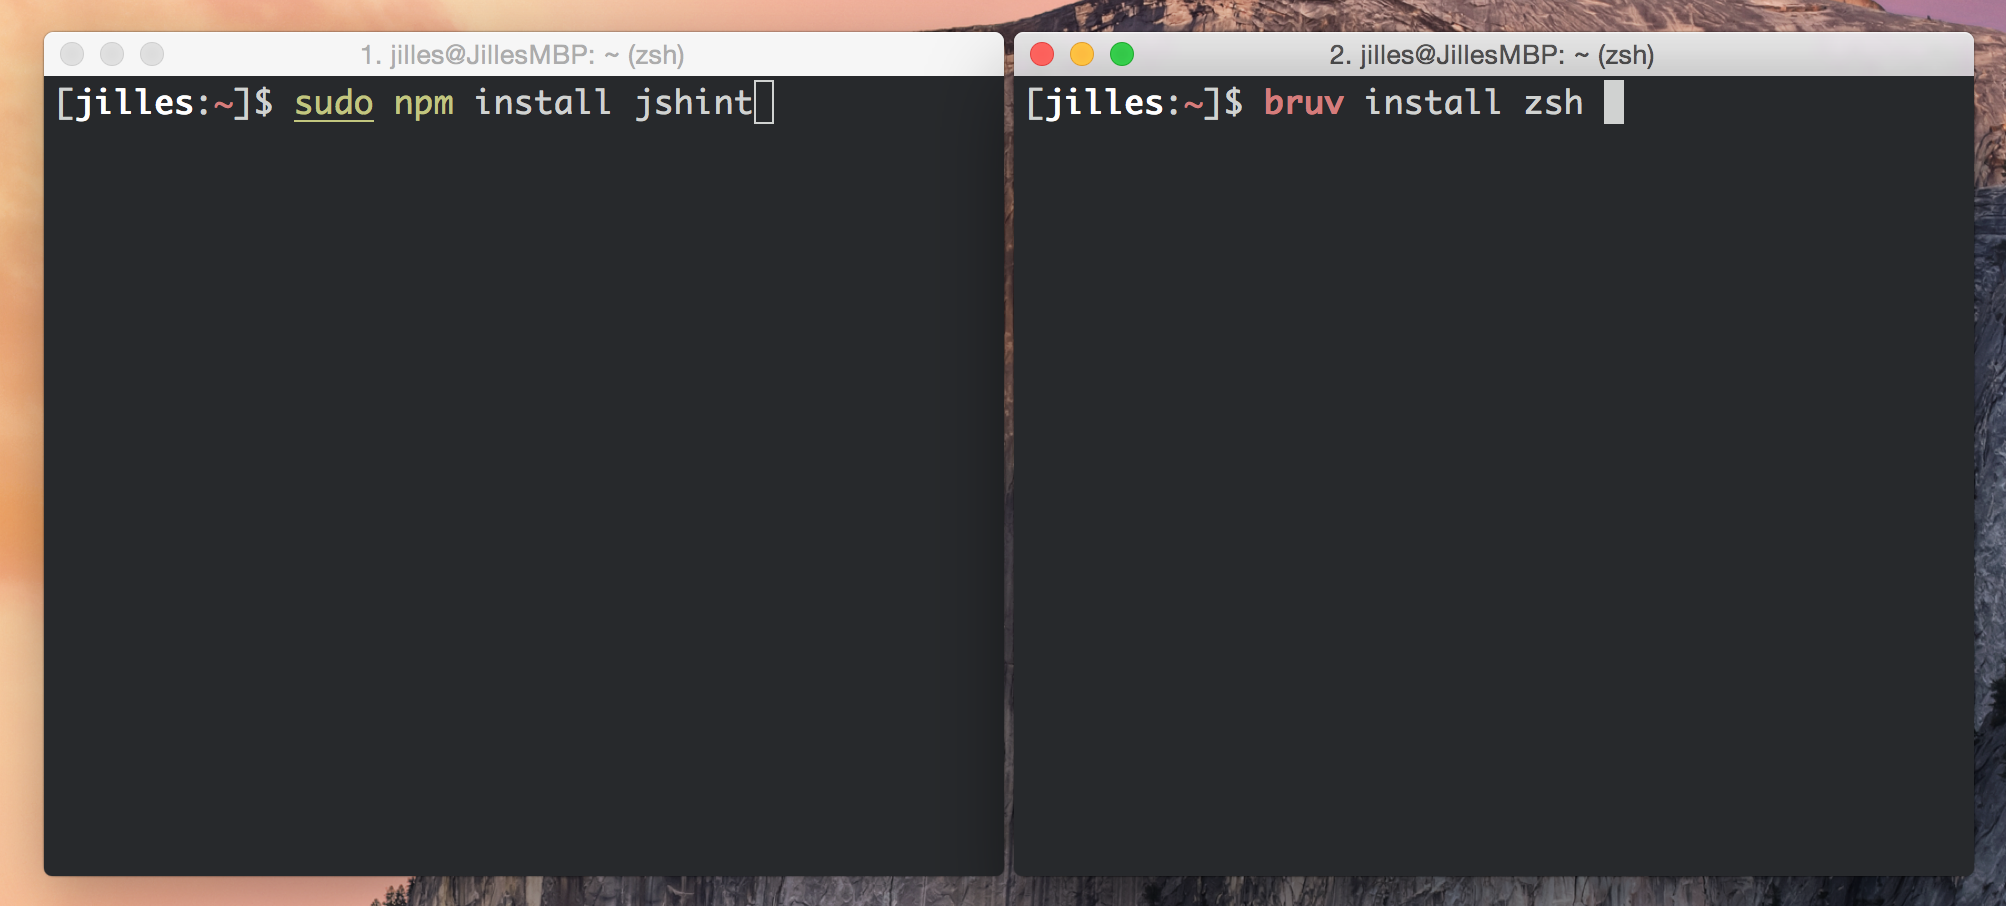
How cool is that? I have it installed in my ~/.oh-my.zsh folder because I think it's convenient. It's however no part of oh-my-zsh.
To install it run:
cd ~/.oh-my-zsh && git clone git://github.com/zsh-users/zsh-syntax-highlighting.git
All that's left is enabling it. Fire up that editor again and open ~/.zshrc and add the following line to the end of the file.
source ~/.oh-my-zsh/zsh-syntax-highlighting/zsh-syntax-highlighting.zsh
Restart your terminal or run source ~/.zshrc for the changes to take effect.
z
No this is not a typo, the last thing I want to show you is z. A script that makes navigating in the terminal much faster. On a mac you can just do brew install z. For Linux machines refer the the GitHub repo.
Once you've installed it, add the following to your .zshrc (including the . at the beginning).
. `brew --prefix`/etc/profile.d/z.sh
That was the last time I made you edit your .zshrc, I swear!
Instead of doing cd ~/Somefolder/Anotherfolder/project/, you can just do z proj. It's that simple! Keep in mind that z is not a magic script that knows where every folder on your computer is. It keeps track of your cd to directories in a file called ~/.z - Once you've cd'd into a directory once, you can use z to navigate to it.
Conclusion
The terminal is a really powerful tool. If you're doing serious development you can not get out of using it. Instead of trying to avoid it, become better at using it.
I hope this post was of any use to you. If it was I'd love it for you to message me on twitter @Jilles or just share this post!

